Claude Code for Designers: 8-Step No-Terminal Setup (2026)
If you can install Figma, you can install Claude Code. Here's the path from empty folder to working AI coding partner in about 30 minutes — without ever opening a terminal.
TL;DR
- Claude Code is not the same as Claude. Claude lives in a browser tab. Claude Code lives inside VS Code on your computer and can read and edit your files.
- You need a paid Claude account. Pro ($20/month) or higher. The free Claude.ai plan does not include Claude Code.
- Windows users need Git for Windows installed first. Mac and Linux users can skip it.
- You won't touch a terminal. Everything happens inside the Claude Code panel in VS Code.
- Total time: about 30 minutes. Most of it is just downloading installers.
- You'll end with a real project (UIGen) and your first working prompt.

Daniyal Khawaja
UX Designer | B2B SaaS & Design System Specialist
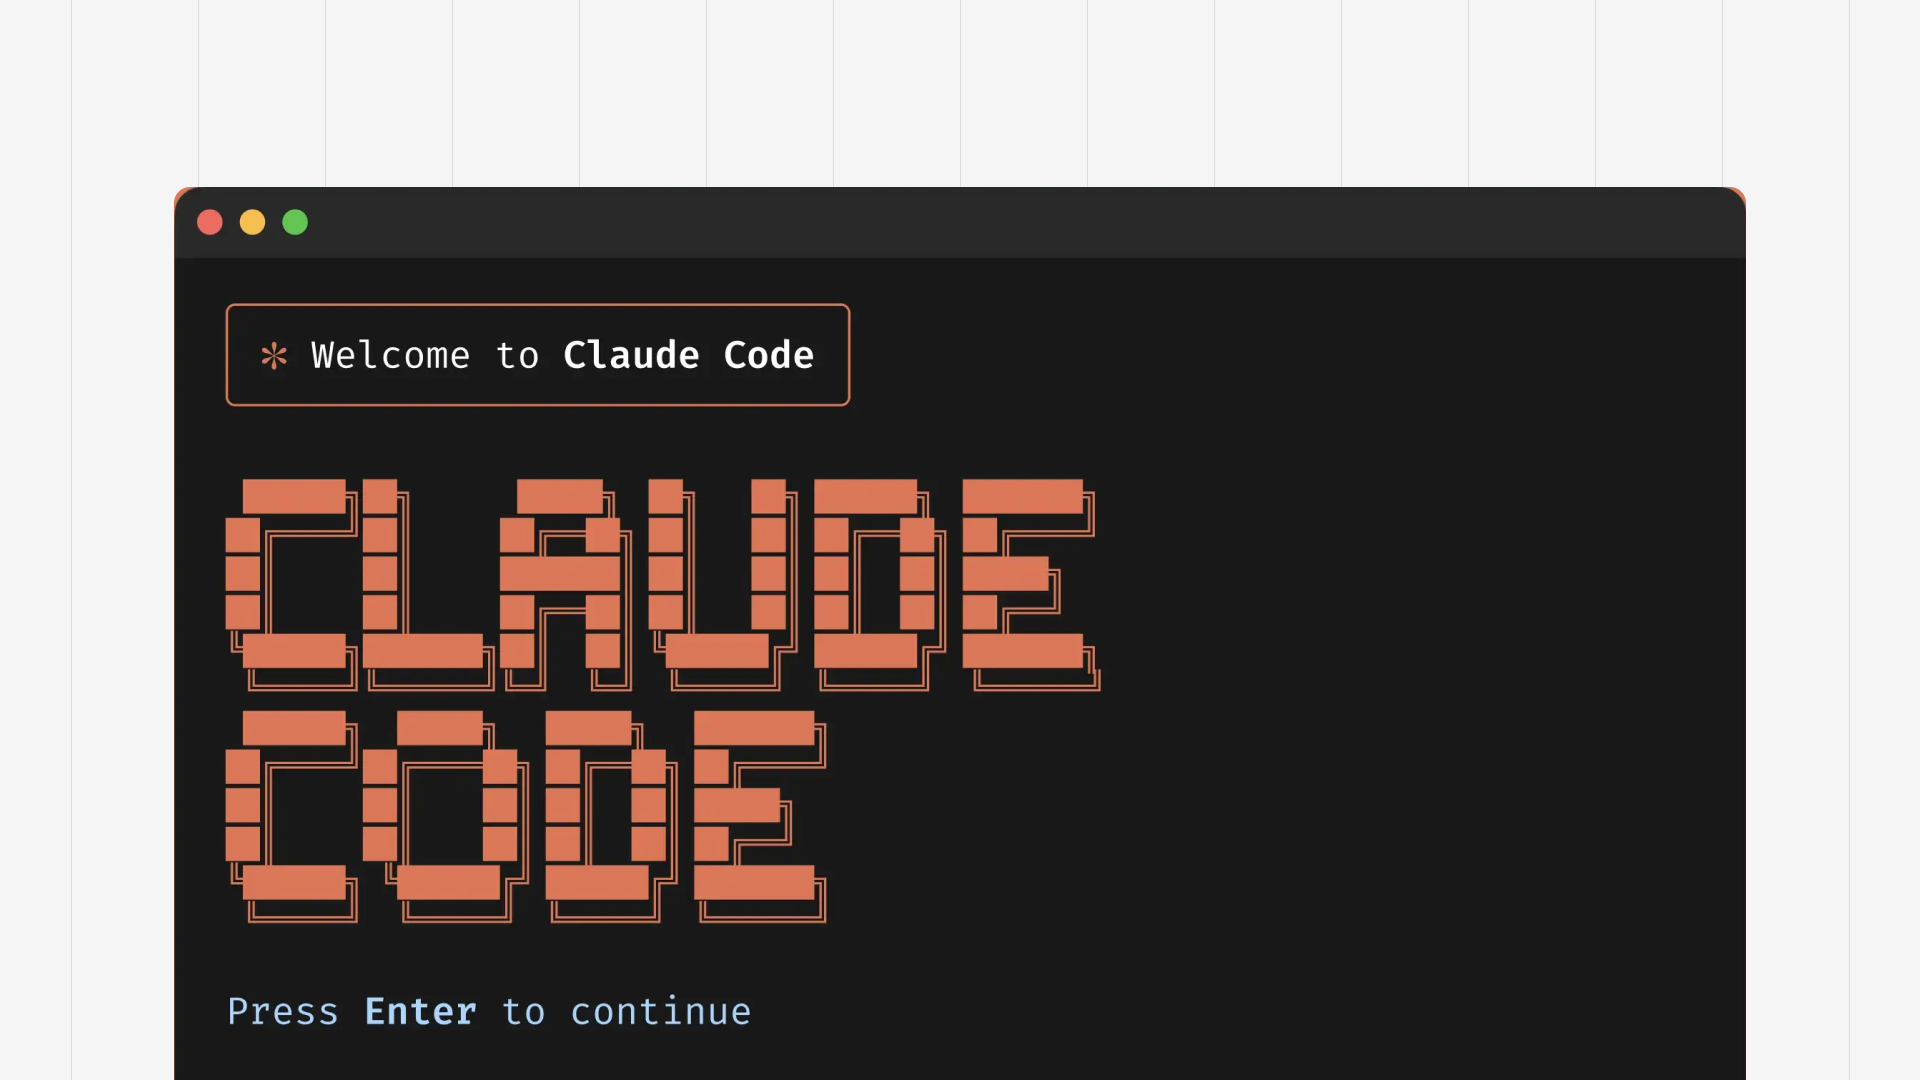
Table of contents
- The most common mix-up: Claude vs Claude Code
- Before you start: two things nobody tells you
- Step 1: Get a project folder on your computer
- Step 2: Install VS Code (the editor Claude Code lives inside)
- Step 3: Open your project folder in VS Code
- Step 4: Install the Claude Code VS Code extension
- Step 5: Sign in to Claude Code
- Step 6: Run /init so Claude Code learns your project
- Step 7: Your first real prompt (the proof of life)
- Step 8: Where to go from here
- Bonus: 5 starter workflows worth trying first
- FAQ
The first time I sat down to install Claude Code, I closed the tab three times in twenty minutes.
Not because the install was hard. Because every guide I opened assumed I already knew what npm was, why anyone would use a "shell" on purpose, or what people meant when they said just open the project in your editor. I'm a designer. I open Figma. I open Notion. I do not open black boxes that want me to type things.
What I needed was a guide written for someone who lives in design tools, not in a terminal. This is that guide — the one I wish I'd had on day one.
It's eight steps. None of them require typing into a terminal. By the end, Claude Code will know your project and answer your first prompt. I'll show you exactly what I had to figure out the hard way, so you don't have to.
Let's go.
Claude vs Claude Code: the most common mix-up
Here's the thing nobody told me on day one: these are not the same product. I lost my first hour of Claude Code time assuming they were.
Claude is the chatbot you talk to at claude.ai. It lives in a browser tab. You paste in text or images, it answers. That's it.
Claude Code is a separate product that lives inside a code editor on your computer. It reads files in a project folder. It writes new files. It edits existing ones. It runs through multi-step tasks while you watch. Same Claude account underneath — completely different shape.
Here's the side-by-side:
| Claude | Claude Code | |
|---|---|---|
| Where it lives | Browser tab at claude.ai | Inside VS Code on your computer |
| What it can see | Only what you paste in | Every file in your project folder |
| What it does | Answers questions, writes text, generates images | Reads, writes, and edits files; runs multi-step tasks |
| Account needed | Free or paid | Paid only (Pro / Max / Team / Enterprise) |
| Best for | One-off chats, brainstorming, research | Building, editing, and shipping real projects |
If you go in expecting Claude Code to behave like the browser chatbot, you'll be confused on day one. I was. Think of it less as a smarter chatbot and more as a junior engineer who can see your project and propose changes.
That distinction is the whole reason this guide exists.
Before you start: two things nobody tells you
You need a paid Claude account. The free Claude.ai plan does not include Claude Code. You need Pro ($20/month), Max, Team, or Enterprise. If you've been using Claude in the browser on the free tier, upgrade first or none of this works. Anthropic confirms it in the official Claude Code setup docs.
Windows users: install Git for Windows first. Mac and Linux folks can skip this. On Windows, Claude Code uses Git Bash under the hood and the install will fail without it. Grab it from git-scm.com/download/win, click Next on every screen, done.
That's the prep. Now the eight steps.
Step 1: Get a project folder on your computer
Claude Code thinks in projects, and a project is just a folder on your computer. Everything inside it is what Claude Code reads. Everything outside it is invisible.
I learned this the hard way when I dropped a Figma export into Downloads and then couldn't figure out why Claude Code was "ignoring" it. It wasn't ignoring it. It just couldn't see it.
Two ways to get your first project folder. Pick whichever sounds more like you.
Option A: Use the UIGen starter project (recommended for first-timers)
If you've never opened a code editor before and you just want something interesting to poke at, start here. Anthropic uses a starter project called UIGen in their official Claude Code in Action course. It's a small Next.js app with a built-in chat interface for generating React components, and it's the fastest way to give Claude Code something real to work on from minute one.
Go to the UIGen GitHub repository. Click the green Code button, then Download ZIP. Unzip the file somewhere you can find it (Desktop is fine). Rename the unzipped folder to uigen if it isn't already.
Option B: Make your own project folder
If you already have a real project in mind — a portfolio refresh, a client landing page, a design system experiment — make a regular folder instead. Desktop is fine. Documents is fine. Name it something meaningful (portfolio-site, client-dashboard, whatever the project is called) and avoid spaces; use dashes instead.
If you already have files for this project (a brief, a brand guide PDF), drop them inside. They become context Claude Code can read.
Either way, the rest of this guide is identical.
Step 2: Install VS Code (the editor Claude Code lives inside)
Download VS Code and run the installer. Free, made by Microsoft, the most popular code editor in the world.
Here's the analogy that finally made it click for me: VS Code is to developers what Figma is to us. Figma is where we organise frames, components, and pages. VS Code is where developers (and now you) organise files, folders, and extensions. That's it. It's a workspace.
Don't be intimidated by how it looks the first time you open it. Most of those panels you can ignore for now. I still ignore most of them.
Step 3: Open your project folder in VS Code
Open VS Code. From the top menu, choose File → Open Folder… and pick the uigen folder (or your own project folder) from Step 1. Click Open.
The folder name appears in the left sidebar — the "Explorer" panel — with all the project files listed underneath it. That's your proof that VS Code is now connected to your project.
Shortcut for next time: On Mac, right-click any folder in Finder and choose "Open with Code." On Windows, right-click in File Explorer and choose "Open with Code." Both work, but File → Open Folder… is the path that always works, so use that for now.
Step 4: Install the Claude Code VS Code extension
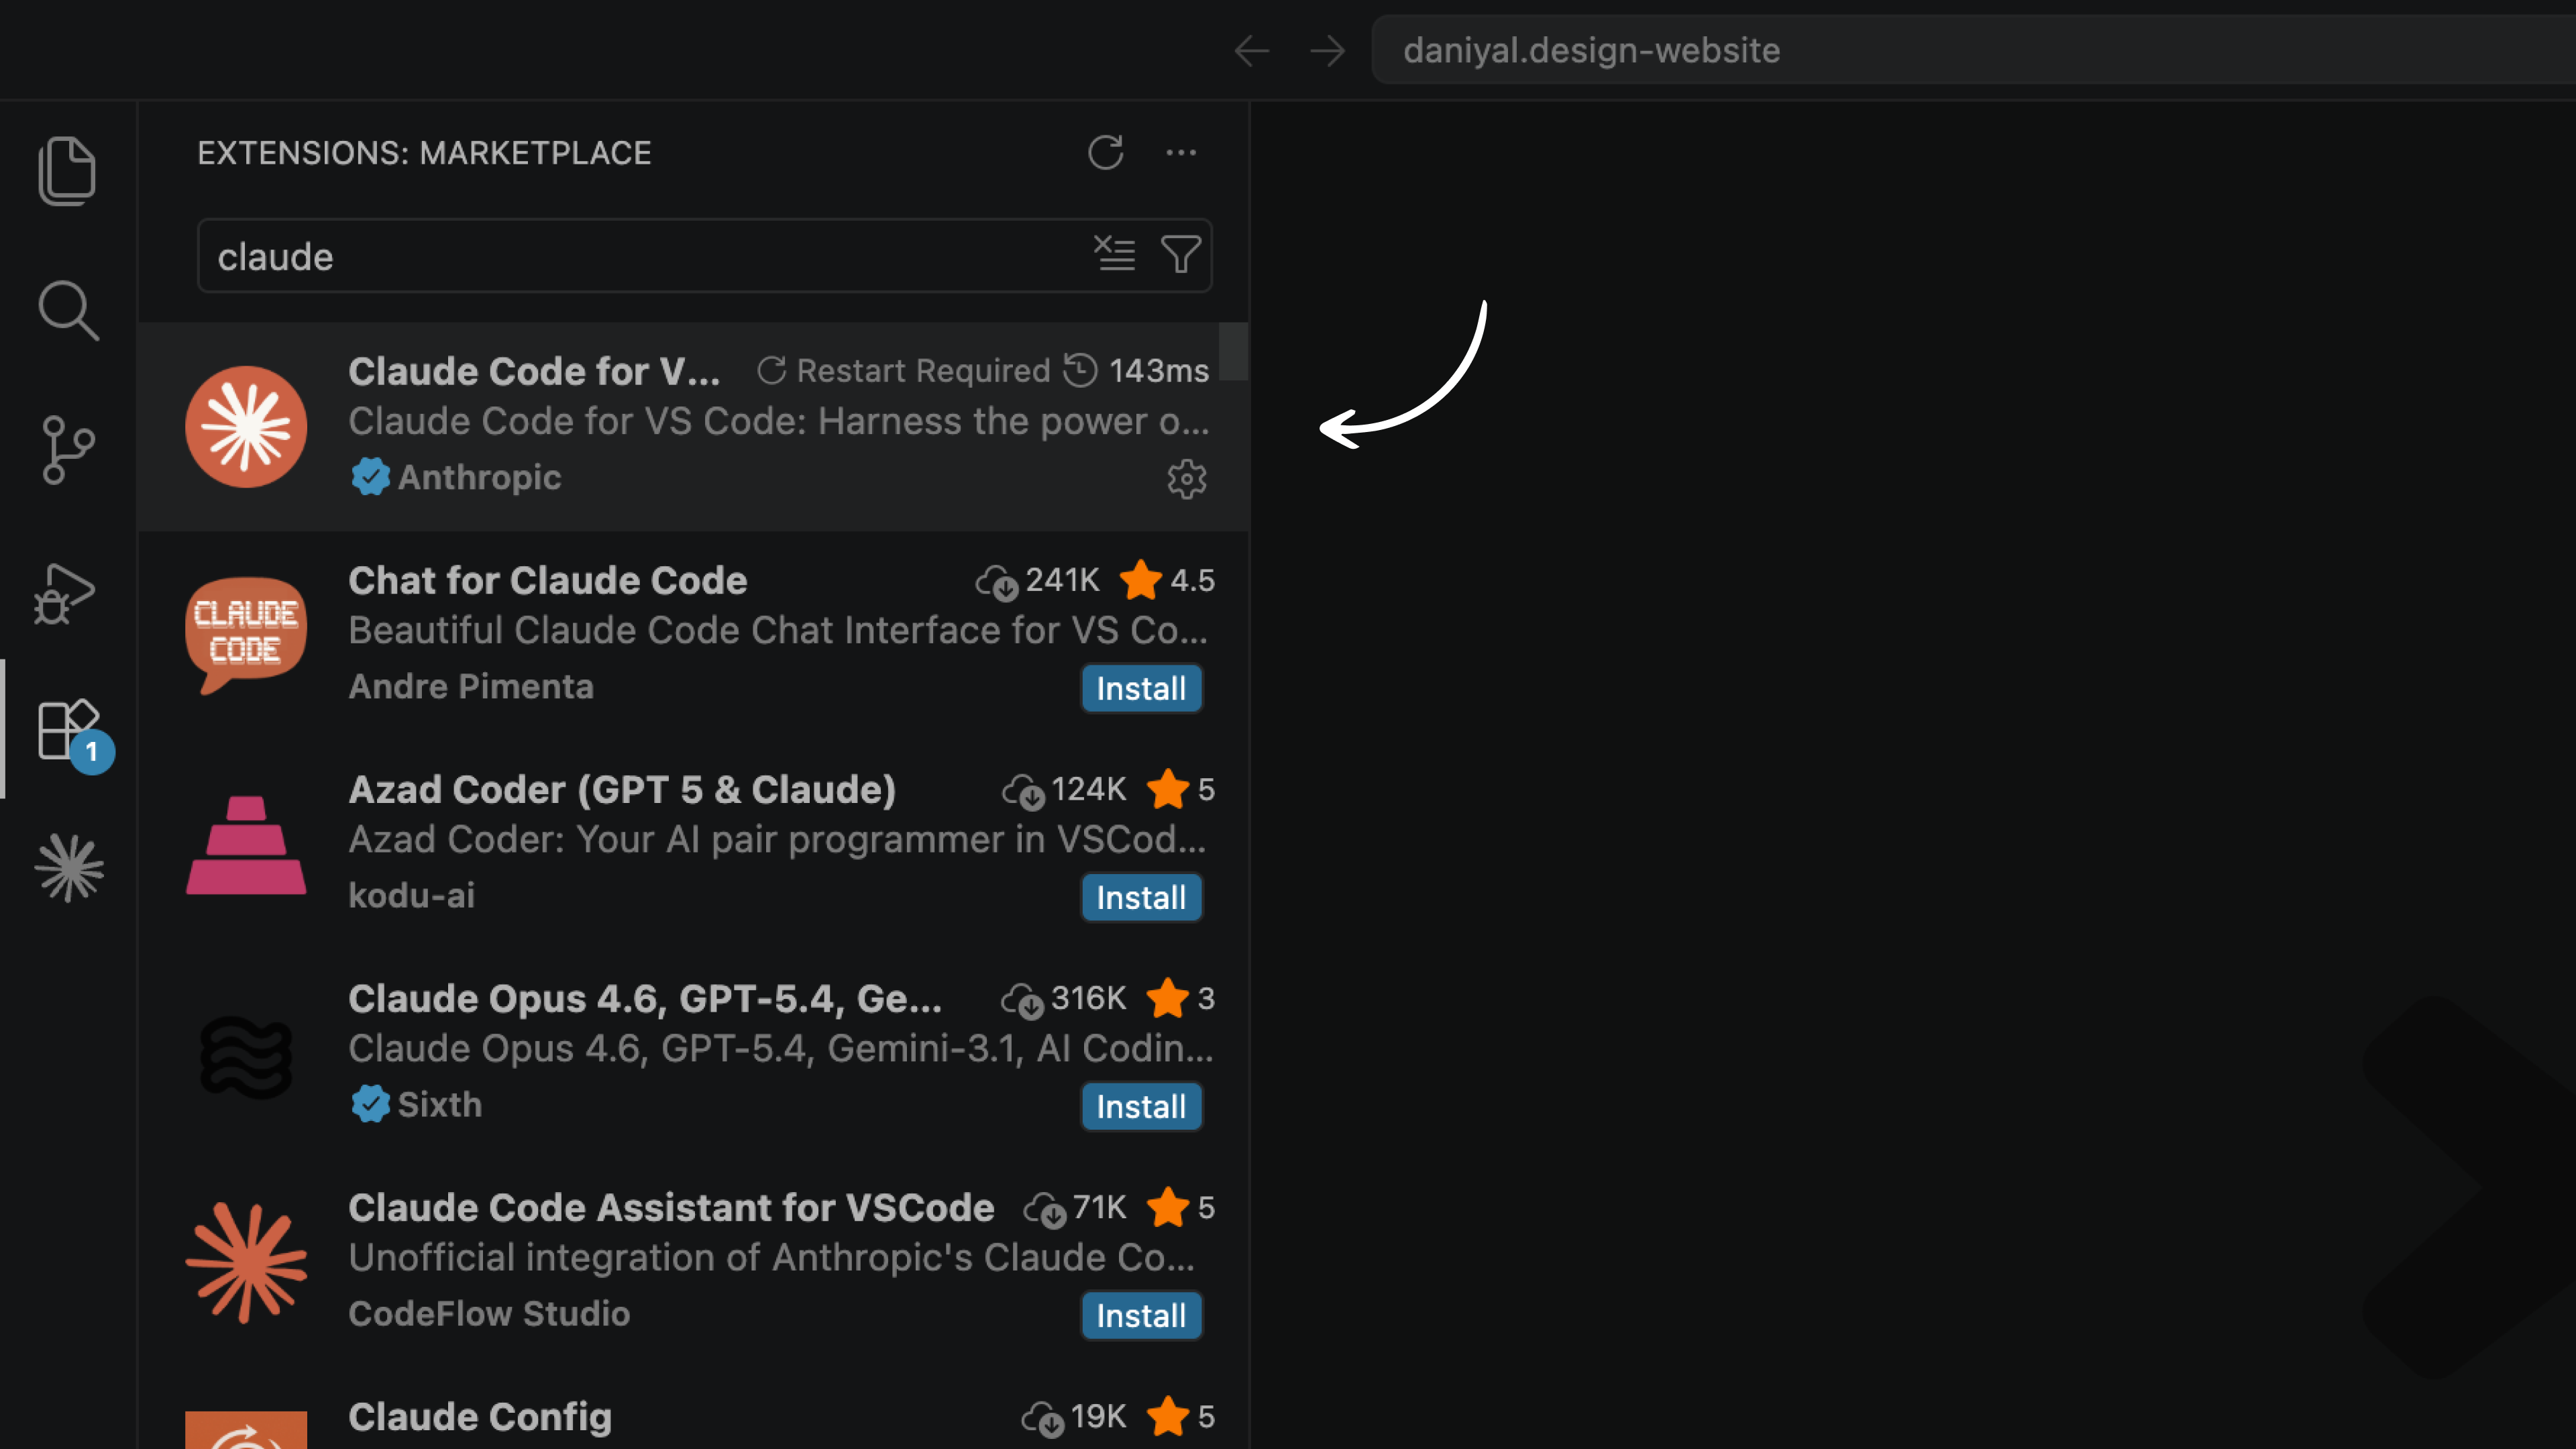
Look at the icons running down the far-left edge of VS Code. One of them looks like four squares with one square pulled away. That's the Extensions panel. Click it. (Keyboard shortcut: Cmd + Shift + X on Mac, Ctrl + Shift + X on Windows.)
In the search bar at the top, type Claude Code. The first result should be published by Anthropic. That's the official one. Don't install anything else with "Claude" in the name — there are lookalikes.
Click the blue Install button. About thirty seconds. When it's done, a new icon appears in the left edge of VS Code. That's the Claude Code panel.
Step 5: Sign in to Claude Code
Click the new Claude Code icon. The panel opens and asks you to sign in. Click the sign-in button.
Your default browser opens a Claude.ai login page. Sign in with the same email you use for your paid Claude account. The page says something like "Authentication successful." Close the browser tab and switch back to VS Code. The Claude Code panel refreshes — and you're in.
If the browser doesn't open, or if it opens and tells you your account isn't authorised, the most likely reason is that you're on the free Claude plan. Go back to claude.ai, upgrade to Pro, and try again. (Yes, I made this exact mistake the first time. 😅)
Step 6: Start Claude Code and install project dependencies
First, start a Claude Code session. Click the Claude Code icon in the left sidebar (the one that appeared after you installed the extension in Step 4). The Claude Code panel opens with a chat input at the bottom. This is where every conversation with Claude Code happens — think of it as your command centre for the rest of this guide.
If you downloaded UIGen, the project needs its dependencies installed before anything works. This sounds intimidating. It's not. Claude Code does it for you — you don't need to open a terminal.
In the chat input, type "Install the dependencies for this project for me." Hit enter.
Claude Code asks permission to run the command. Click Allow. Output scrolls by for a minute or two as it downloads and installs everything the project needs.
The first time I saw terminal output scroll through the Claude Code panel, my instinct was to panic. Don't. It's just Claude Code installing things. When the scrolling stops and you see a summary, you're done.
If you made your own empty folder (Option B), skip this step. Your folder doesn't have dependencies yet, and that's fine.
Step 7: Run /init so Claude Code learns your project
Now that the project is installed, tell Claude Code to learn it. In the same panel, type:
/init
Hit enter. Claude Code spends a minute or two walking through every file in the folder and writing a new file called CLAUDE.md. That file is Claude Code's memory of your project: what's in it, how it's structured, what conventions it follows. Every time you start a new chat in this folder, Claude Code reads CLAUDE.md first. You don't have to re-explain your project every session. The full behaviour is documented in Anthropic's Claude Code memory docs.
This takes a minute or two. When Claude Code says it's done, move on.
Step 8: Open CLAUDE.md and understand what Claude Code sees
Go to the Explorer panel (left sidebar) and click on the newly created CLAUDE.md file. It opens like any other text file.
Read it. This is what Claude Code "knows" about your project. It lists the folder structure, the tech stack, build commands, and any conventions it detected. For UIGen, you'll see it mention Next.js, React, the component generator, and the database setup you just ran.
Here's the part I wish someone had told me earlier: you can edit this file. If Claude Code missed something important — your brand guidelines, your preferred naming conventions, your design tokens, your deployment target — add it in plain English. The next time Claude Code starts a session in this folder, it reads CLAUDE.md first and follows whatever you wrote.
Think of CLAUDE.md as the brief you give a new team member on day one. The better the brief, the better the work. I update mine every time I start a new sprint. 😊
Step 9: Your first real prompt (the proof of life)
You're set up. Now do something with it.
In the same Claude Code panel, type a prompt. Pick one:
- "Explain what this project does in plain English."
- "Add a new React component to UIGen called HeroSectionwith a headline, subheadline, and CTA button."
- "What files would I need to change if I wanted to swap the default font to Inter?"
Hit enter. Claude Code thinks for a few seconds, then either answers your question or shows you the file changes it wants to make. If it's making file changes, it asks permission before writing anything to your folder. You can say yes, no, or change this part.
That's the loop. Describe what you want in English. Review what Claude Code proposes. Accept, reject, or refine. Nothing happens to your files unless you approve it.
Try it. Watch it answer. Notice you didn't have to paste anything in.
That moment is when it clicks.
Step 10: Where to go from here
You're set up. The setup was the hard part. Everything from here is just practice.
Three things worth doing next:
- Read the official Claude Code docs when you hit something the panel doesn't explain. Skim, don't memorise.
- Take Anthropic's Claude Code in Action course. Same course UIGen comes from. Best way to go from "I can run a prompt" to "I can ship a feature."
One last thing: nothing you did in this guide was destructive. You installed two free apps and an extension, downloaded a starter project, and signed into an account. If any of it feels wrong, you can uninstall everything and you're back where you started. The cost of trying this is zero. The upside is a coding partner who works in your language.
Installed. Connected. Listening.
Bonus: 5 starter workflows worth trying first
Once setup works, these are the prompts that taught me what Claude Code is actually good at. Each one takes under five minutes and shows you a different muscle. Try them in any order.
1. The codebase tour. "Walk me through the structure of this project. What are the most important files and what does each one do?" Fastest way to understand any unfamiliar codebase, including UIGen itself.
2. The Figma-to-component. Drop a screenshot of a Figma frame into the Claude Code panel and prompt: "Build this as a React component using the styling conventions already used in this project." Claude Code reads your existing components and matches them.
3. The variant generator. "Generate three visual variants of the existing button component: default, ghost, and destructive. Match the project's existing token usage." Great for stress-testing whether your design system is actually consistent.
4. The design audit. "Look at every component in this project and tell me which ones have hard-coded colours instead of design tokens. Suggest fixes." The closest thing to having a design systems engineer on call.
5. The "explain it like I'm a designer" prompt. Open any file you don't understand and ask: "Explain what this file does without using developer jargon. Pretend I'm a designer who just opened a code editor for the first time." Claude Code is unreasonably good at this. I use this one almost every day. 😊
Pick the one that scares you the least. Run it. Then pick the one that scares you the most.
FAQ
Is Claude Code free?
No. Claude Code requires a paid Anthropic plan: Pro ($20/month), Max, Team, or Enterprise. The free Claude.ai plan only includes the browser chatbot, not Claude Code. If you try to sign in with a free account, the extension will reject the login. Upgrade at claude.ai before installing.
What's the difference between Claude and Claude Code?
Claude is the chatbot at claude.ai that lives in a browser tab and answers what you paste into it. Claude Code is a separate product that lives inside VS Code on your computer, can read every file in your project folder, and can write or edit files for you. Same Claude account, different shape.
Do I need to know how to code to use Claude Code?
No. Claude Code is designed so you describe what you want in plain English and review what it proposes. You do need to be able to read code well enough to spot when something looks wrong, but you don't need to write it yourself. Most designers get productive in their first session.
Does Claude Code work on Windows, Mac, and Linux?
Yes, all three. Mac and Linux work out of the box. Windows users need to install Git for Windows first because Claude Code uses Git Bash internally. Once that's installed, the VS Code extension flow in this guide is identical on every platform.
Can I use Claude Code without ever opening a terminal?
Yes. The VS Code extension provides the entire Claude Code experience inside a graphical panel. You never need to type commands into a terminal window. This guide shows that flow start to finish; the command-line version exists but is optional.
How is Claude Code different from Cursor, v0, or Lovable?
Cursor is a fork of VS Code with AI built into the editor itself. v0 and Lovable are browser-based AI app builders that hide the code from you. Claude Code is an extension that adds an AI agent to your existing VS Code, leaves the code visible, and asks permission before changing files. It sits between AI-native editor (Cursor) and no-code AI builder (Lovable, v0).
You're set up. The hard part is over.
The next time someone tells you to just open your project in Claude Code, you'll know exactly what they meant — and exactly what they left out.
Now go build something. YOU GOT THIS. 🙌
Working on something related to AI or design and need help?
Email me at contact@daniyal.design and share what you are building.
View My Work
A browser-based CAD system that replaced decades-old dispatch software for 911.
AI-powered chat agent that collapses five SaaS modules into a single conversational interface.